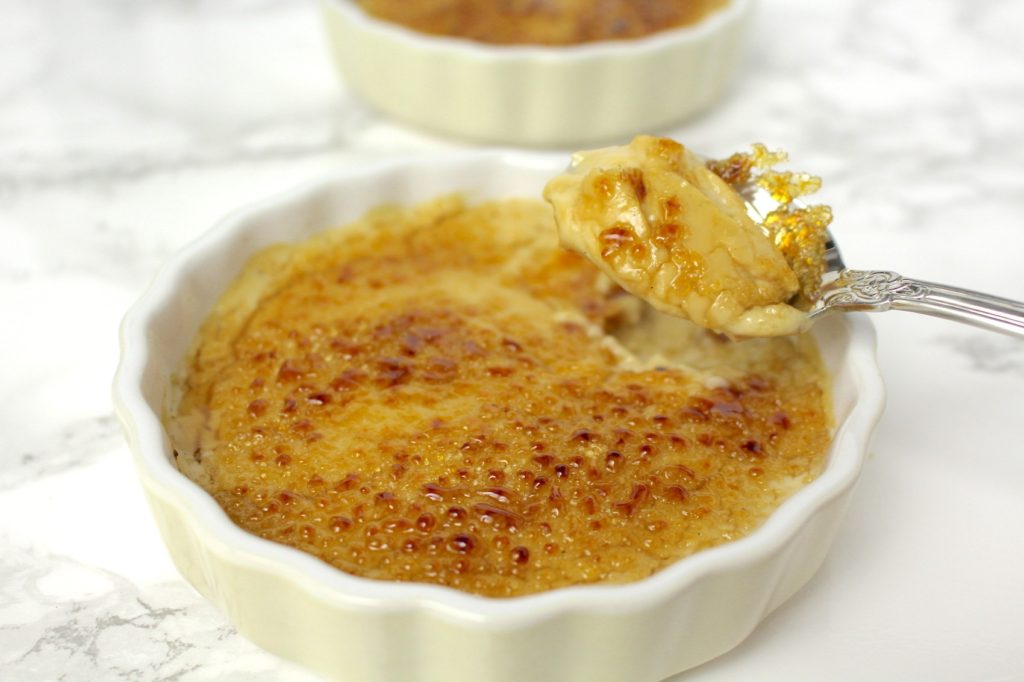
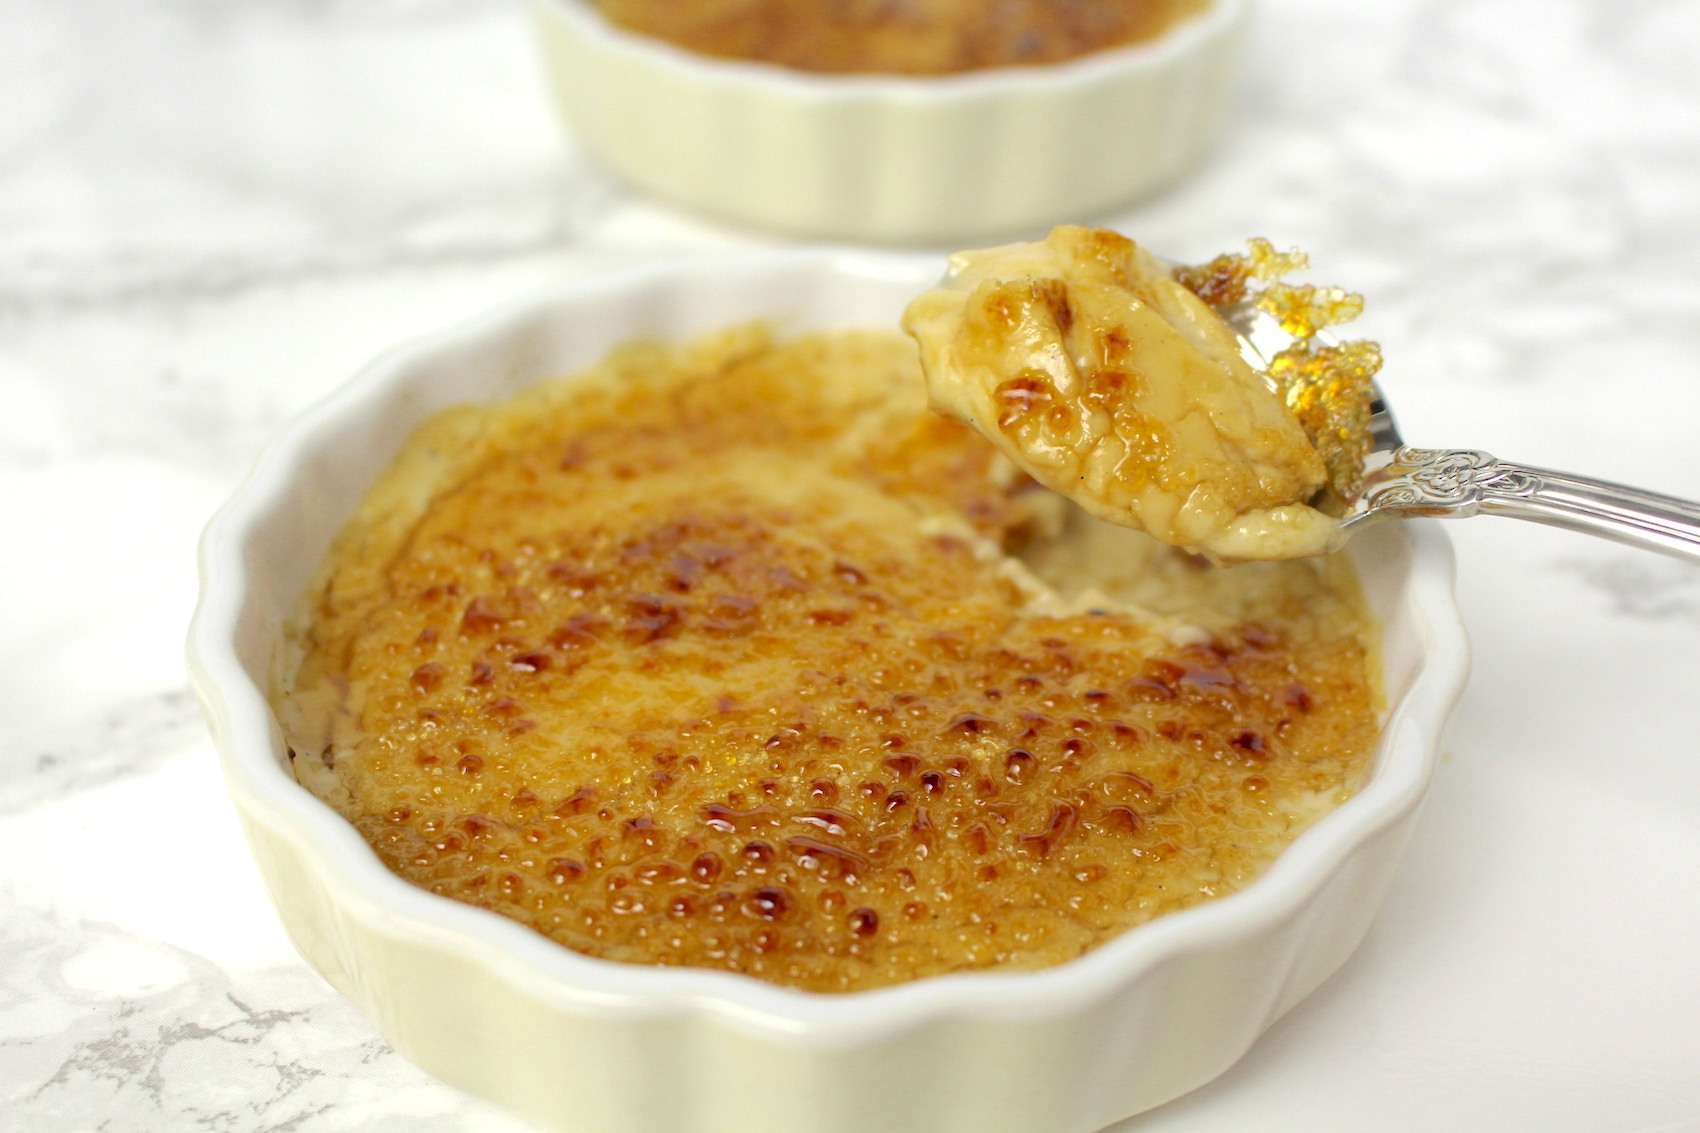
What makes a creme brulee so special? The contrast between the caramelized topping and the smooth creamy custard beneath, of course. The first time I tried creme brulee was actually at a small bistro in Paris. While I can’t remember the main course, I still know that the French dessert blew my mind. Ever since that night, I used to order the delicious custard anytime it was offered at any restaurant. That was until I decided to eat plant based. Since the traditional “burnt cream”, as it translates literally, is made with egg yolks and heavy cream, I had to create an alternative.
Crème Brûlée – Two Ways: Different Ingredients, Same Procedure
So I started experimenting with some recipes for vegan creme brulee, which didn’t really work for me though. The ones using banana tasted too much like, well, banana. Then I tried a recipe which required agar agar. After all, this plant based gelatin worked well for me when I made fruit jellies and panna cotta. But the custard ended up being too firm and not creamy at all, so I wasn’t convinced with that result either. Then I thought I could just make my vanilla pudding, the one that I used as a filling for this delicious mango tart. No sooner said than done! I ended up with a first version of vegan creme brulee, that I actually really liked. Then I tried another one, using silken tofu. Yap, that’s right: silken (= soft) tofu is actually perfect for desserts. I basically adjusted this recipe (German website) to my liking and was very happy with the result. It has just the right creamy and smooth texture. However, if you don’t have any silken tofu on hand but want to make creme brulee, I’d always recommend making the first version instead of not making this delicious dessert at all.
Simple Crème Brûlée
- 1 vanilla pod
- 2 cup cold plant milk (I like oat milk) (500 ml)
- 1/3 cup potato starch (50 g)
- 2-3 tbsp coconut sugar (or raw cane sugar) (25-30 g)
- 1 tsp lemon zest (optional)
- 2 tbsp raw cane sugar (for the crust)
-
Scrape vanilla pod and add pulp to a blender, together with all the other ingredients and mix to combine. Then add mixture to a cold pot and bring to a boil.
-
Boil until thickened, stirring occasionally, for about 5-7 minutes.
-
Spoon mixture into two large or four small ramekins. Cool to room temperature and refrigerate until firm (1-2 hours).
-
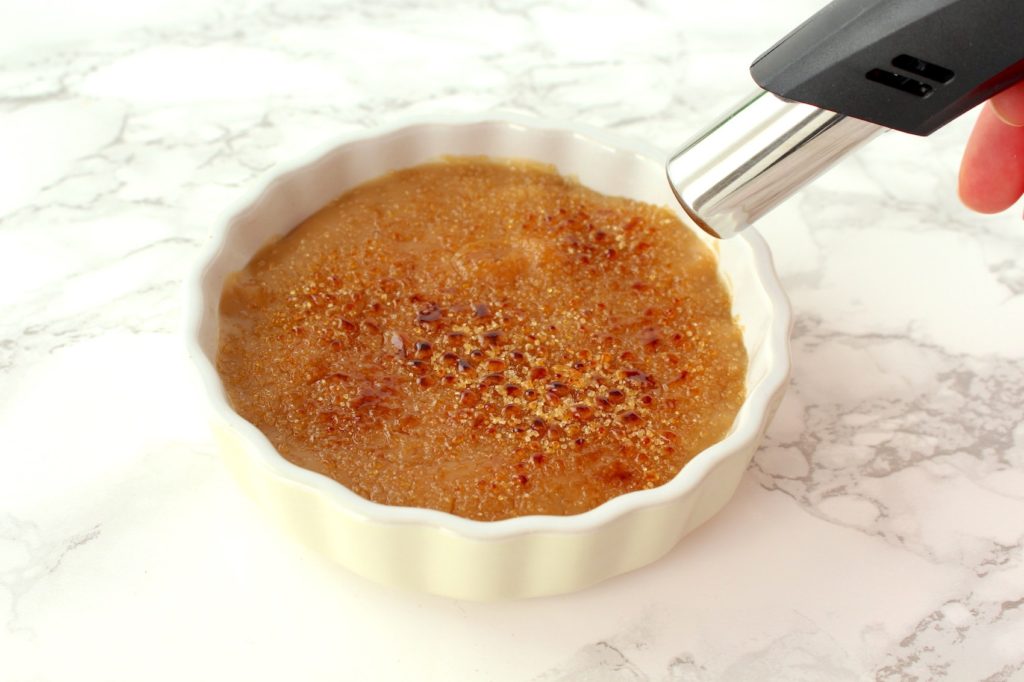
Right before serving, sprinkle 1 tbsp (if using large) or 1/2 tbsp (if using small ramekins) sugar evenly on the top of each ramekin and heat with a blowtorch until sugar has caramelized. Allow to sit for a minute until the caramelized sugar hardens.
-
Serve as is or with some fresh fruit and mint.
- This recipe makes 2 large or 4 small servings.
- I highly recommend using a vanilla pod here (instead of extract), since it really makes a huge difference in this case.
- You can substitute corn starch for potato starch.
- You could also create a sugar crust using the oven broiler.
Authentic Crème Brûlée

- 1 vanilla bean pod
- 1 cup silken tofu (250 g)
- 3/4 cup + 2 tbsp oat cream (200 ml)
- 3 tbsp potato starch
- 3 tbsp coconut sugar (or raw cane sugar)
- 1 tsp lemon zest
- a pinch of salt
- 2 tsp almond butter
- 2 tbsp raw cane sugar (for the crust)
-
Scrape vanilla pod and add pulp to a blender, together with all the other ingredients and blend. Add mixture to a cold pot and bring to a boil.
-
Boil until thickened, stirring occasionally, for about 5-7 minutes.
-
Spoon mixture into two large or four small ramekins. Cool to room temperature and refrigerate until firm (1-2 hours).
-
Right before serving, sprinkle 1 tbsp (if using large) or 1/2 tbsp (if using small ramekins) sugar evenly on the top of each ramekin and heat with a blowtorch until sugar has caramelized. Allow to sit for a minute until the caramelized sugar hardens.
-
Serve as is or with some fresh fruit and mint.
- This recipe makes 2 large or 4 small servings.
- I highly recommend using a vanilla pod here (instead of extract), since it really makes a huge difference in this case.
- You can substitute corn starch for potato starch.
- You could also create a sugar crust using the oven broiler.
I hope you love this recipe – please let me know in the comment section below! If you make this dessert, make sure to take a photo and share it on my Facebook page or on Instagram, using the hashtag #minamadefood. Oh and don’t forget to tag me (@thisisminamade) so that I can see your creations!
