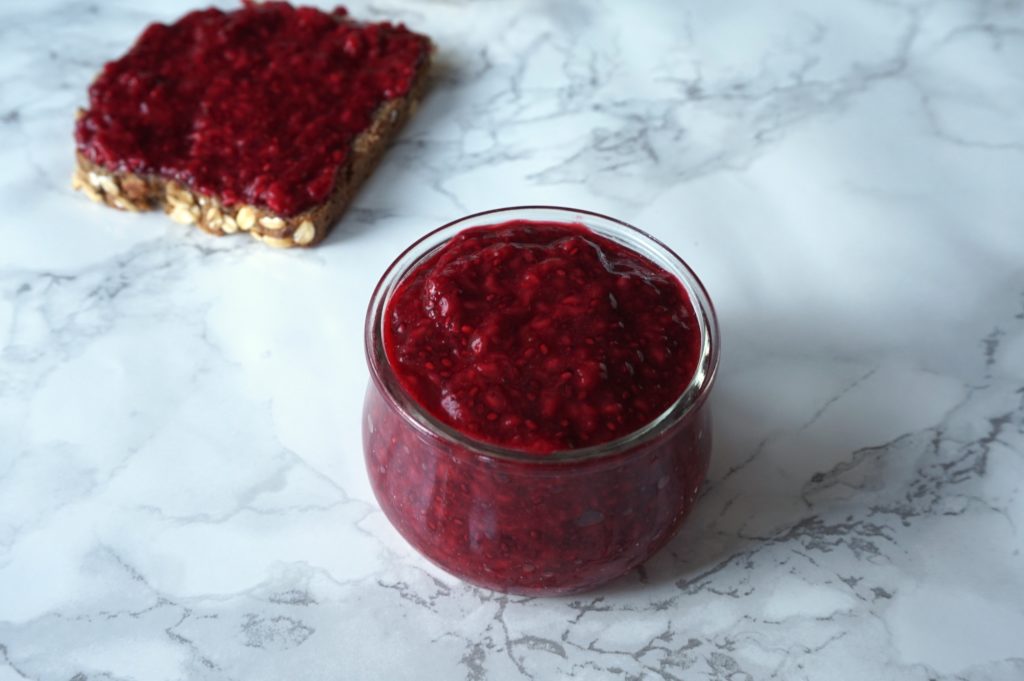

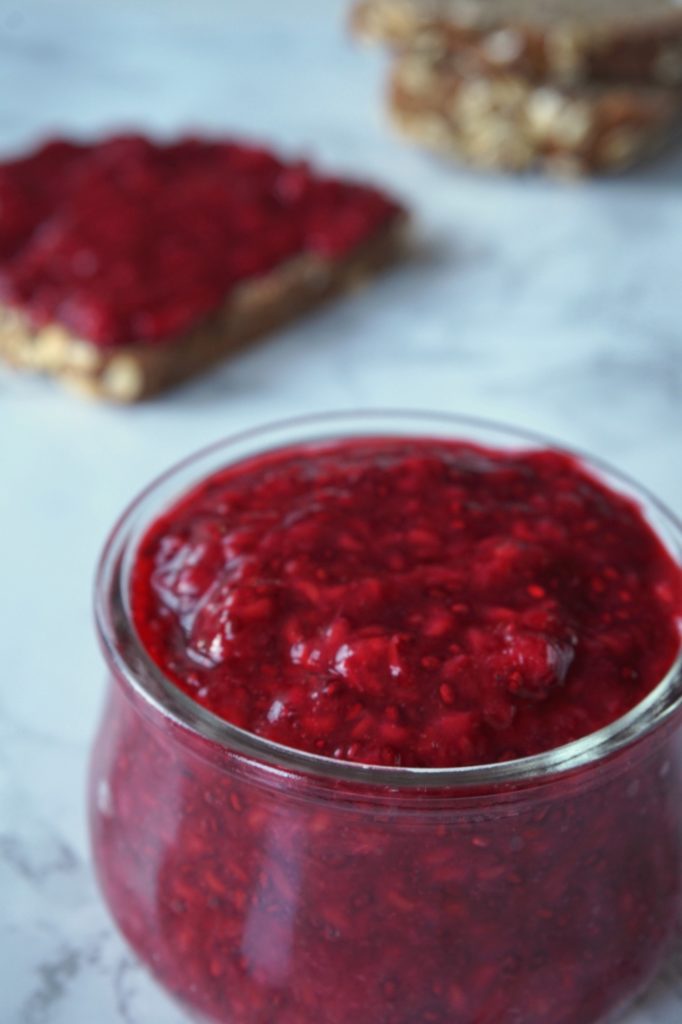
Nothing compares to homemade jam! This one can even be made without all the sugar because the fruit itself is sweet enough. Of course there’s another reason why jam is made with lot’s of gelling sugar, though. As the name implies, this sugar has a necessary feature in the making: a gelling power. What to use instead? Here comes a nutrient packed alternative: chia seeds.
I’ve got to say, that I’m not really into all these claimed “superfoods”. The term is basically used as a marketing tool and even if all these foods may have a lot of nutrients, in my opinion it’s not necessary to include them in your diet. Here comes the big BUT: In this case the chia seeds act as a gelling agent and create a jelly-like substance absorbing several times their mass in liquid. Beyond that it’s probably worth mentioning that these little seeds really are packed with nutrients like omega-3 fatty acids and they’re also rich in protein and fiber…
The great thing about this way of making homemade jam is that you don’t need to cook the fruit. This means that all the nutrients are preserved. If you’re kind of impatient (like me) though, you could still use frozen fruit without waiting for it to thaw by cooking it for a few minutes. Just make sure not to cook it for too long and don’t add the chia seeds until it has cooled down a bit.
[ingredients title=”Ingredients”]
- 2 cups berries, frozen or fresh (I used frozen raspberries)
- 2-3 Tbsp chia seeds
- Optional: 1-2 tbsp sweetener of choice, to taste (I didn’t use any)
- Optional: tbsp lemon juice, to taste
[/ingredients]
[directions title=”Directions (if cooking)”]
- Place the fruit in a saucepan and cook it on low to medium heat until it breaks down (about 5 minutes).
- Then mash it with a potato masher or a fork. If using, add the maple sirup or any other sweetener of choice and lemon juice.*
- Take off the heat and wait a few minutes before stirring in the Chia seeds. Let stand 20 Minutes, until thickened.
- Transfer into a jar and store in the fridge.
[/directions]
[directions title=”Directions (raw version)”]
- Mash fresh or thawed fruit with a fork (if using raspberries for instance). You may need to cut the berries smaller first (strawberries).
- Stir in the rest of the ingredients and let stand for about 20 minutes, preferably in the fridge, until thickened.
- Transfer into a jar and store in the fridge.
[/directions]
*Note: You could stop here to end up with raspberry sauce, which is a great addition to pancakes, waffles or even savory dishes as an alternative to cranberry sauce.
That’s it! There’s one small hitch, though: Because there isn’t a ton of sugar in the jam, it should be eaten within a few days, especially if you’re making the raw version. But I think the benefits, as mentioned above, outweigh this downer. Also: There are more ways to eat this spread beyond bread. Need some inspiration? How about some thumbprint cookies? You could also swirl it into a smoothie bowl or top your granola with it.